The Sparks of Titanium
I get asked a lot about the steps I take in creating one of my unique relic art pieces. Depending upon the type, condition, and material the relic originates from dictates the method in which it gets mounted. However, all the pieces go through a 'process' which I will briefly illustrate below.
When preparing rare, historical relics for an art piece, each item starts by going through a process of preparation. This phase begins with sorting and grading each relic in order to determine its 'appeal' to the collector. Each piece gets cataloged and recorded for future provenance and then gets sorted for desirability. Pieces containing original paint, rivets, attachment points, weathering (such as oil or soot), battle damage (yes, some even have bullet holes), or any interesting components are prioritized as relics worthy of mounting on a piece of art. Items deemed less desirable - such as wiring, brittle rubber gaskets, or crumbling leather, deteriorate further over time and can become troublesome as art pieces. I still keep these bits as I have some future plans for them, but they typically do not make the cut as the more desirable pieces.
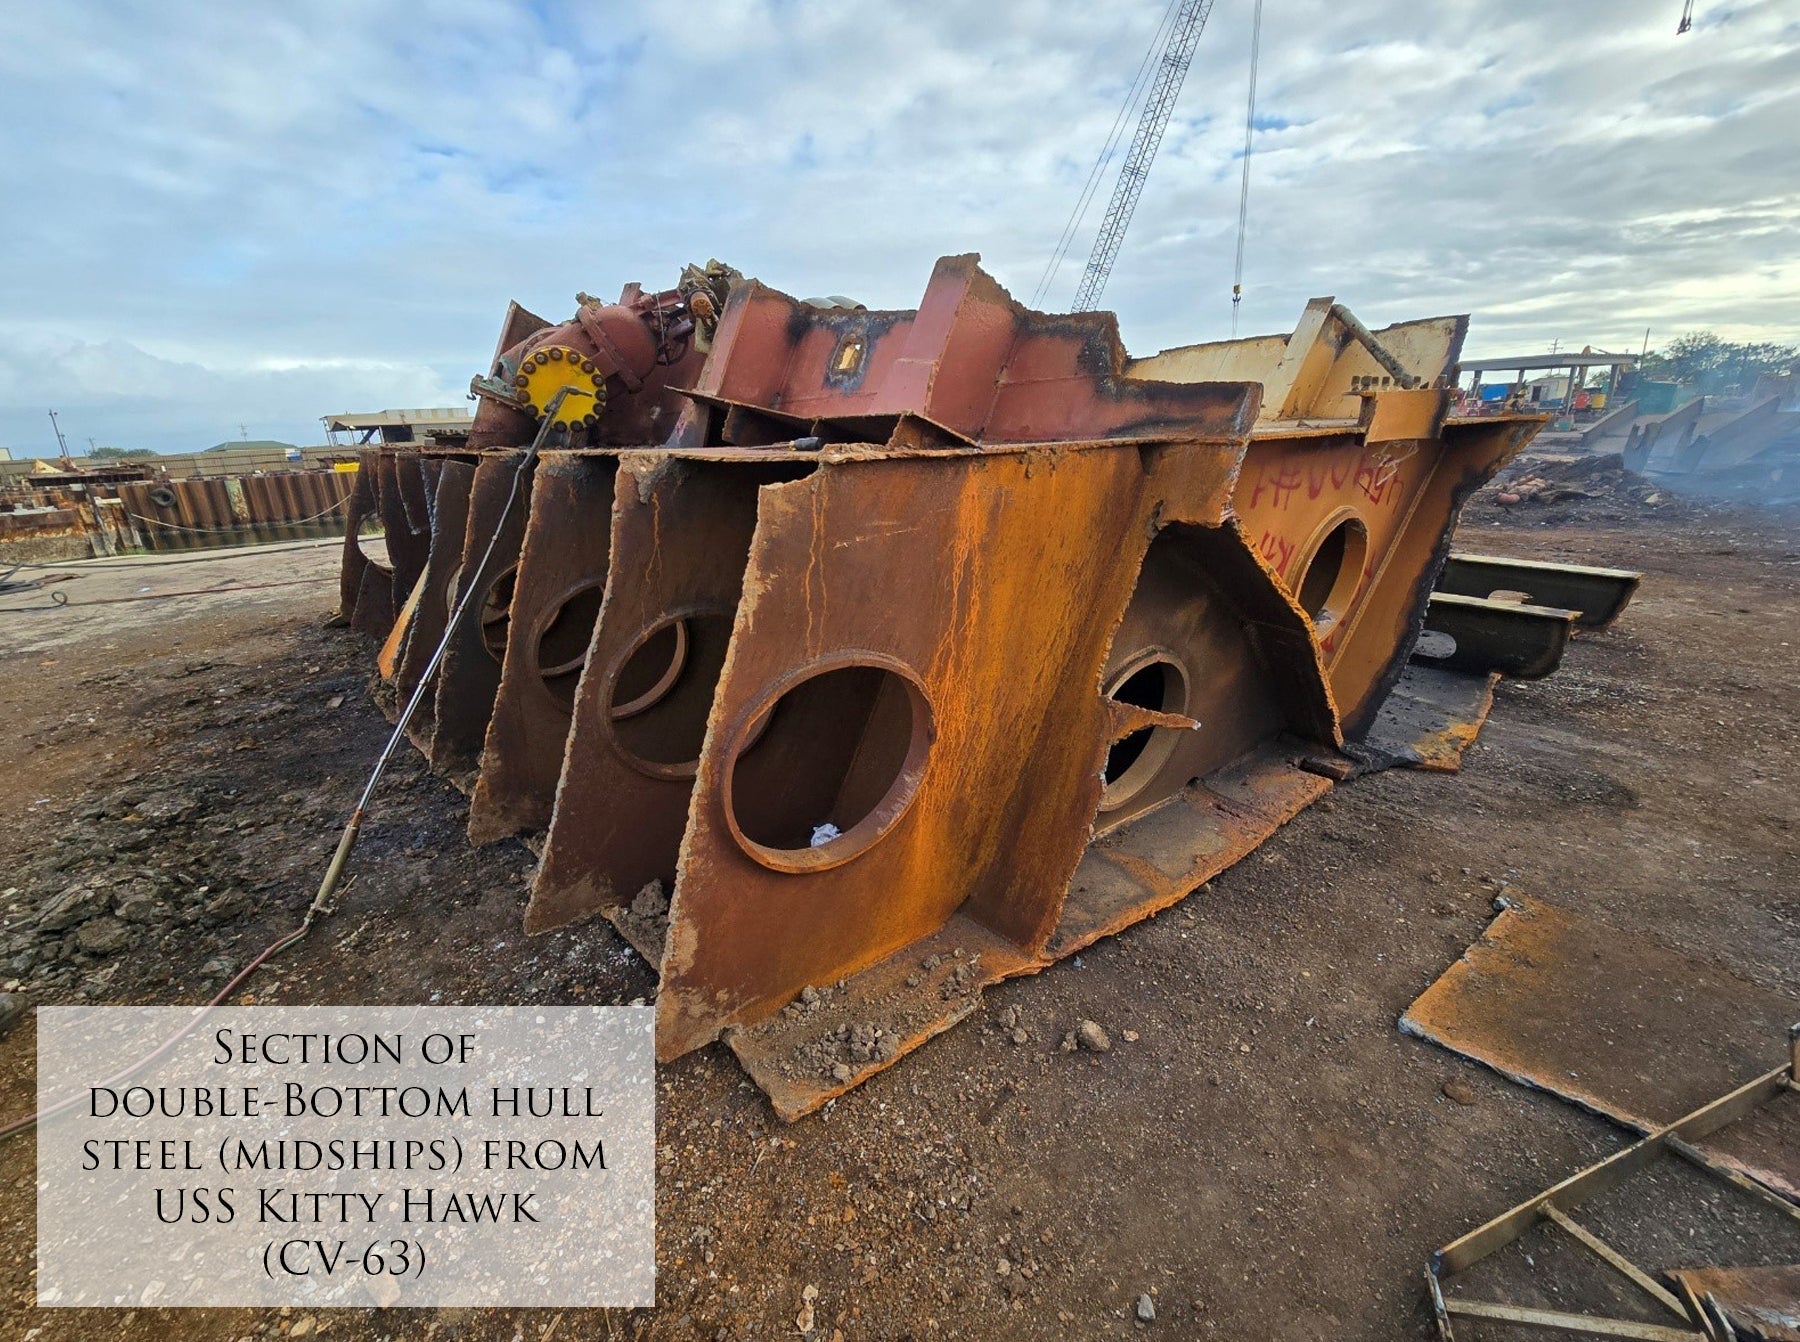
Once sorted, the relics then go through a cleaning phase. However, 'cleaning' is a subjective term as much of the original weathering such as oil splatters, soot, and even battlefield dust, in my opinion, is VERY DESIRABLE to keep with the relic. By cleaning, I mean - creating a clean space for the attachment point for the relic to be mounted. This is usually cleaned on the backside of the relic so that the relic can be mounted securely and in a safe and archival manner. The majority of the artifacts I distribute have never been in collector circulation and are either fresh from a restoration project or from the battlefield and any original dust, soil vegetation root fragments, or early repair work, are kept as much as possible. Some items, such as steel fittings or fragments from tanks or submarines do require a rust-removing solution bath in order to 1) stop the progression of further deterioration of rust and 2) create a solid base for mounting, which is discussed in a later step.
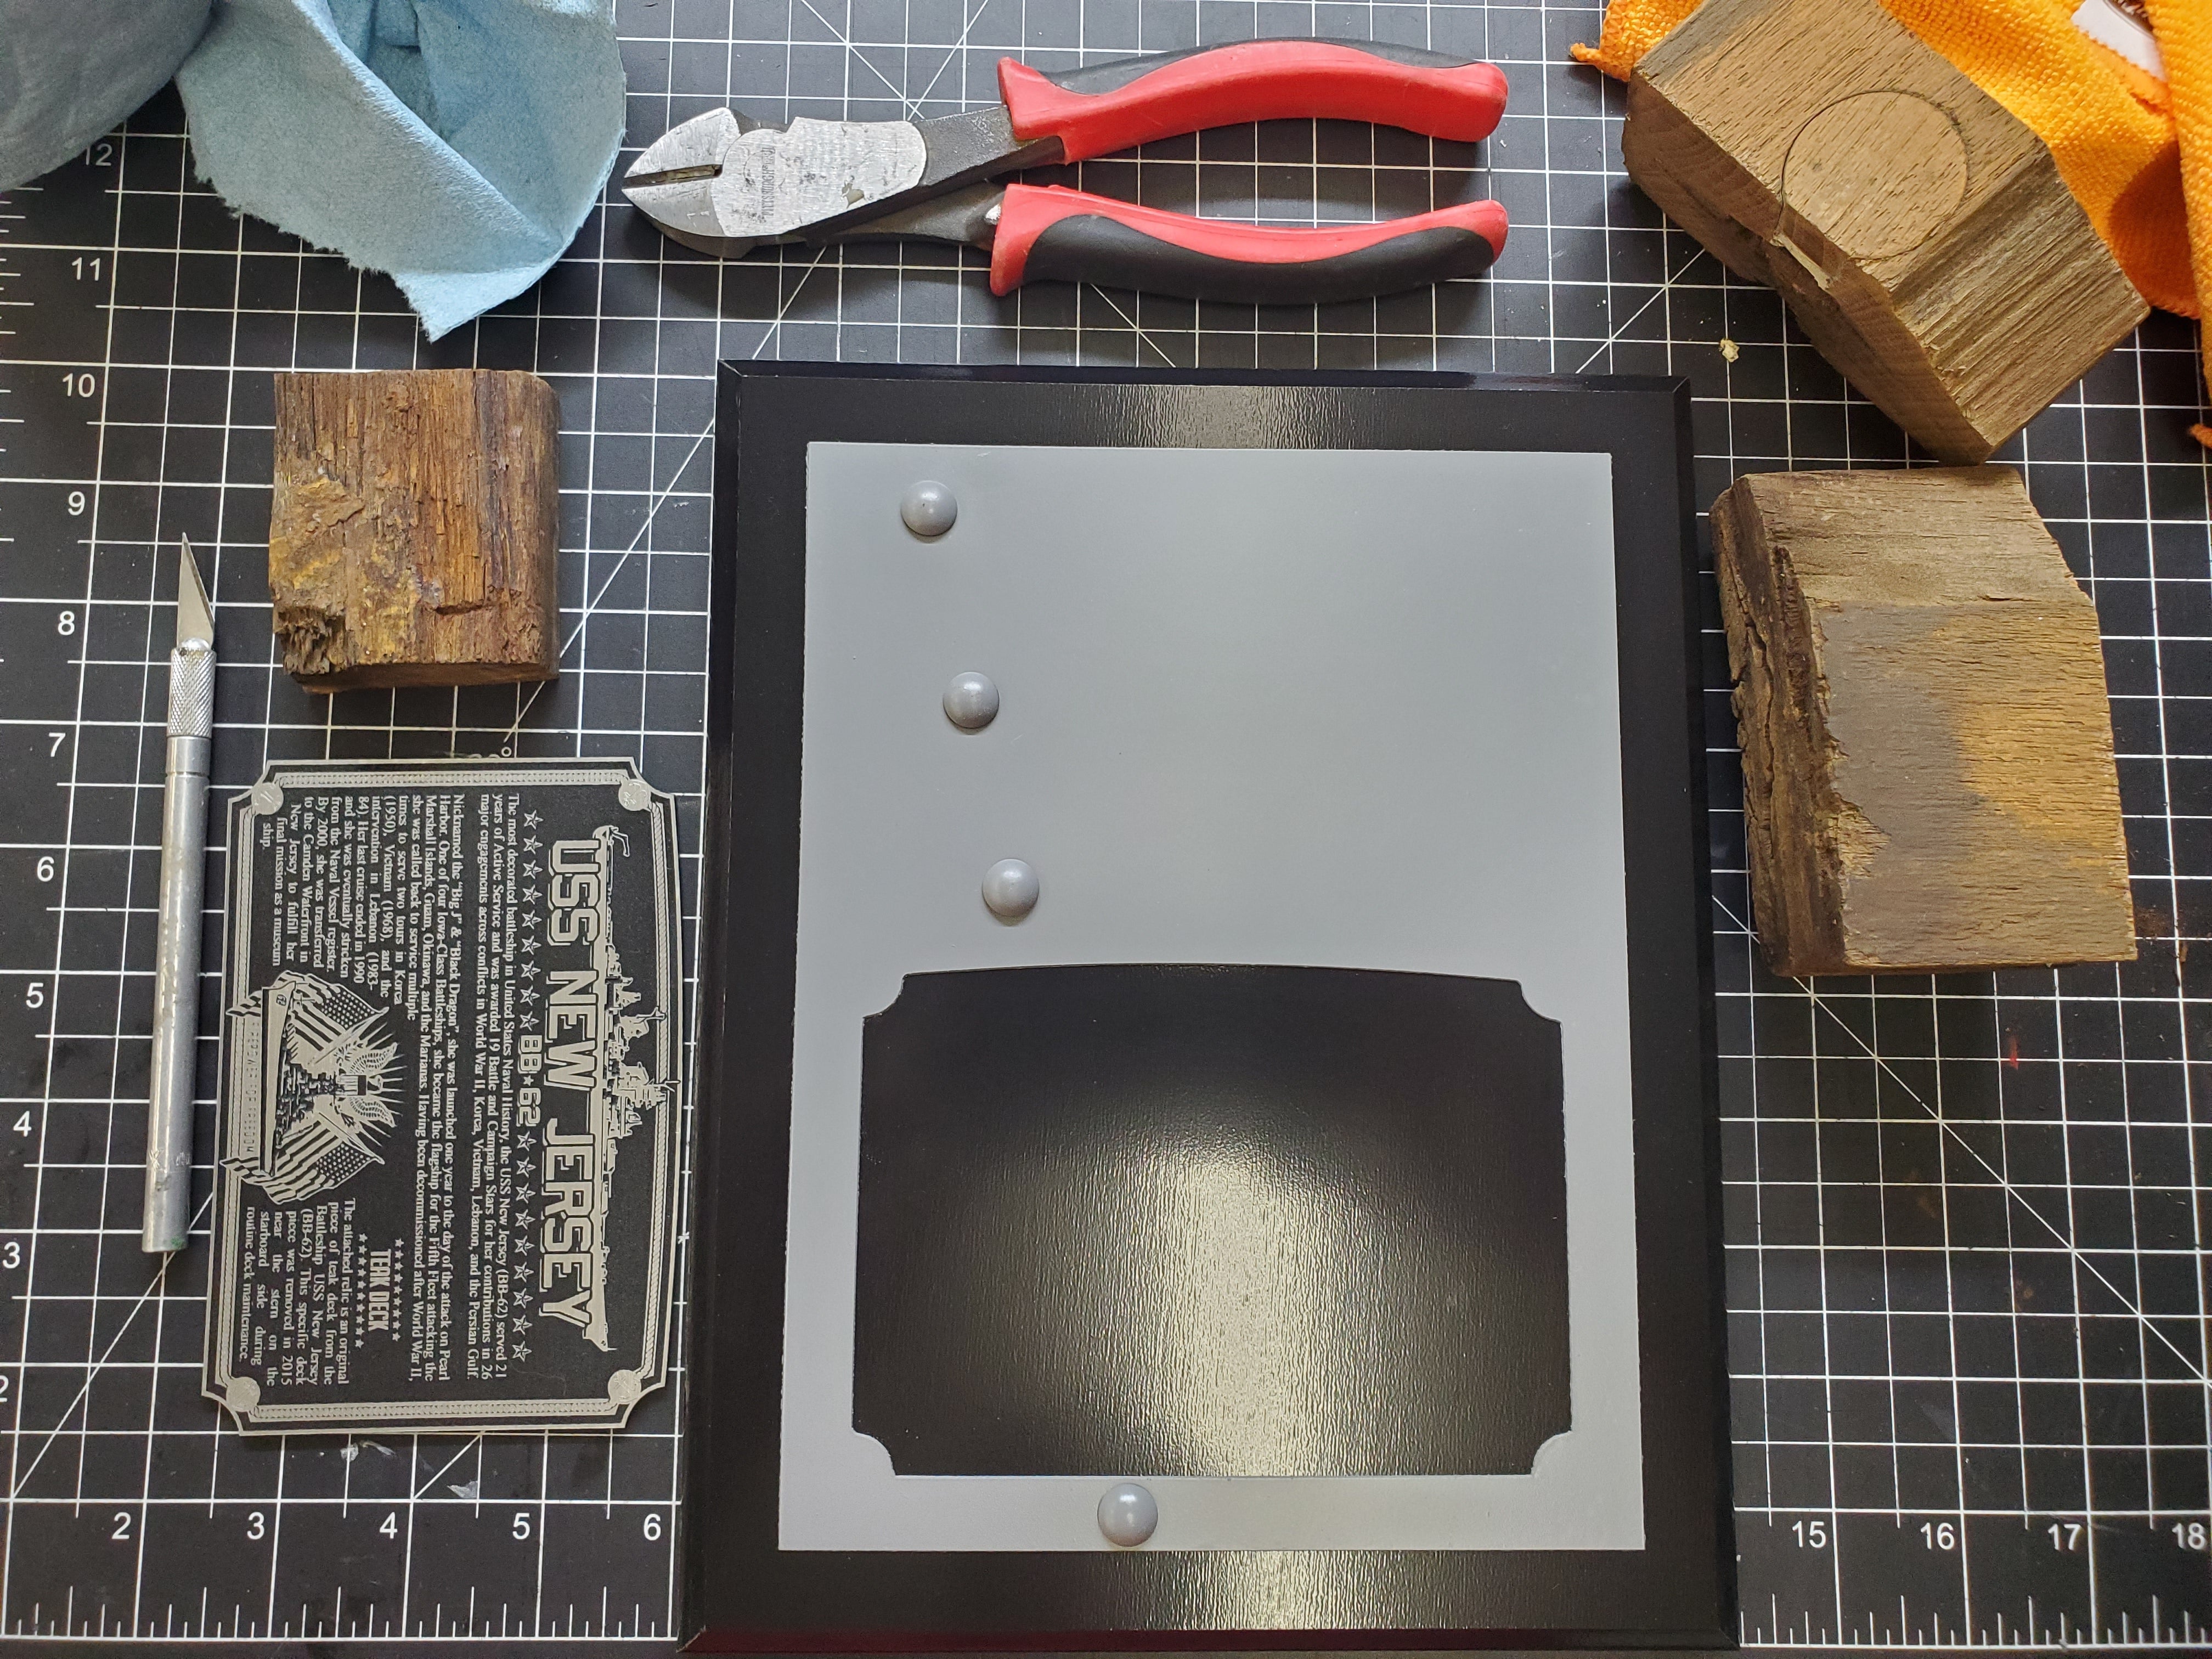
Shaping is the next phase in order to help the item 'fit' into the space allotment in the artwork. For aluminum, shaping usually consists of cutting with tin snips or similar tool in order to resize the piece into an aesthetic and form-fitting size. Titanic coal for instance is sliced from a larger piece, and teak deck requires a sharp, thin blade from a band saw in order to lose as little material as possible. The material is then shaped on a sander or grinder in order to remove any sharp edges or burrs. Gloves and safety goggles are paramount for handling the objects - especially when it comes to SR-71 Titanium. When Titanium is ground or sanded, it throws white-hot sparks unlike its softer cousin metals such as aluminum or iron.
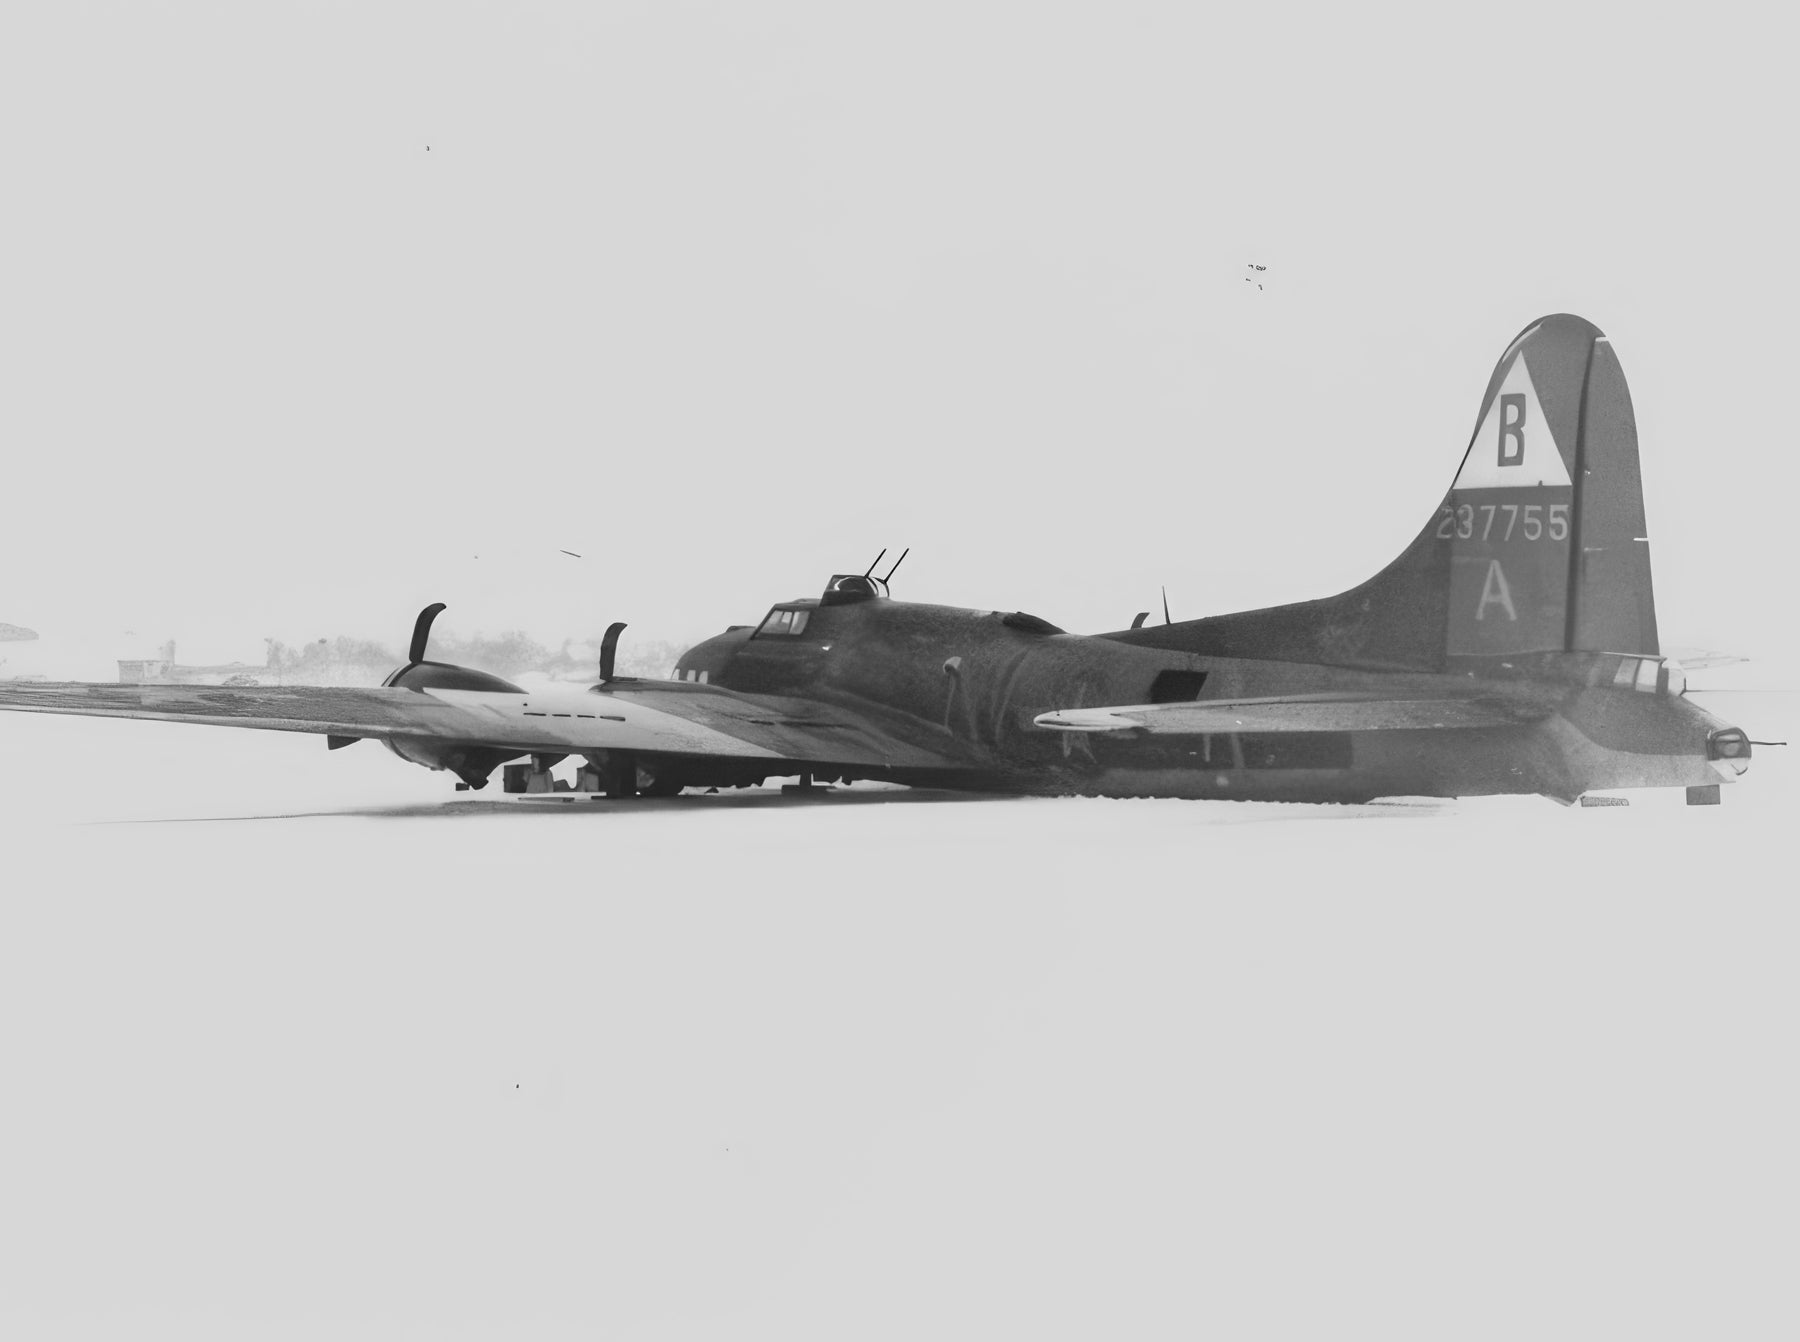
Once the pieces have been shaped, they are ready to be mounted to the print. The mount comes in many forms and is chosen depending upon the type of relic material at play. The ultimate goal here is to provide an archival method for securing the relic to the artwork in order to ensure it does not become damaged or altered over time. For aluminum artifacts, such as B-17 aluminum wing skin, I avoid liquid adhesives (CA glue, silicon, hot glue, etc) as these chemicals are not archival and can, over time, frost or damage the substrate or paint on the backside of the relic. My preferred conservation method for mounting aluminum relics is using museum-grade hook and loop material (i.e. velcro). However, this is not the inexpensive, fabric-based material used in clothing but is a rigid plastic snap style that possesses a significant amount of holding power. This material has an acid-free sticky back adhesive that holds the relic firmly. Additionally, to keep the relic safe during transport, it can be "snapped" on the artwork by the customer. For items more fragile, such as Titanic coal, the relic is encased behind a custom-built plastic window that completely isolates and secures the relic - in a sort of shadowbox method. In this case, a drop of conservation adhesive keeps the relic in place and prevents any further deterioration or crumbling. However, some items require a more permanent and mechanical solution. For items such as spark-plugs from a Rolls-Royce Merlin Engine or the 30mm casing from an A-10 Thunderbolt II, these relics are secured with a heavy monofilament or appropriately-gauged wire.
There are many different museum and gallery conservation methods and techniques I employ to ensure the relics and artwork are built to last for generations. Each new relic requires some forethought and a customized approach to maintain its integrity and allow new users to appreciate it, touch it, and learn from it.


Share:
Wings of Fire, the story behind "Longbow On Patrol"
Road Warriors, the story behind "M998 HMMWV"