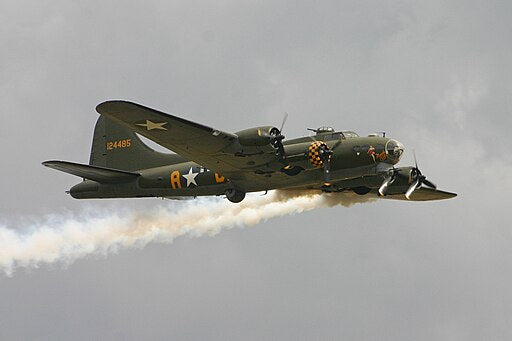
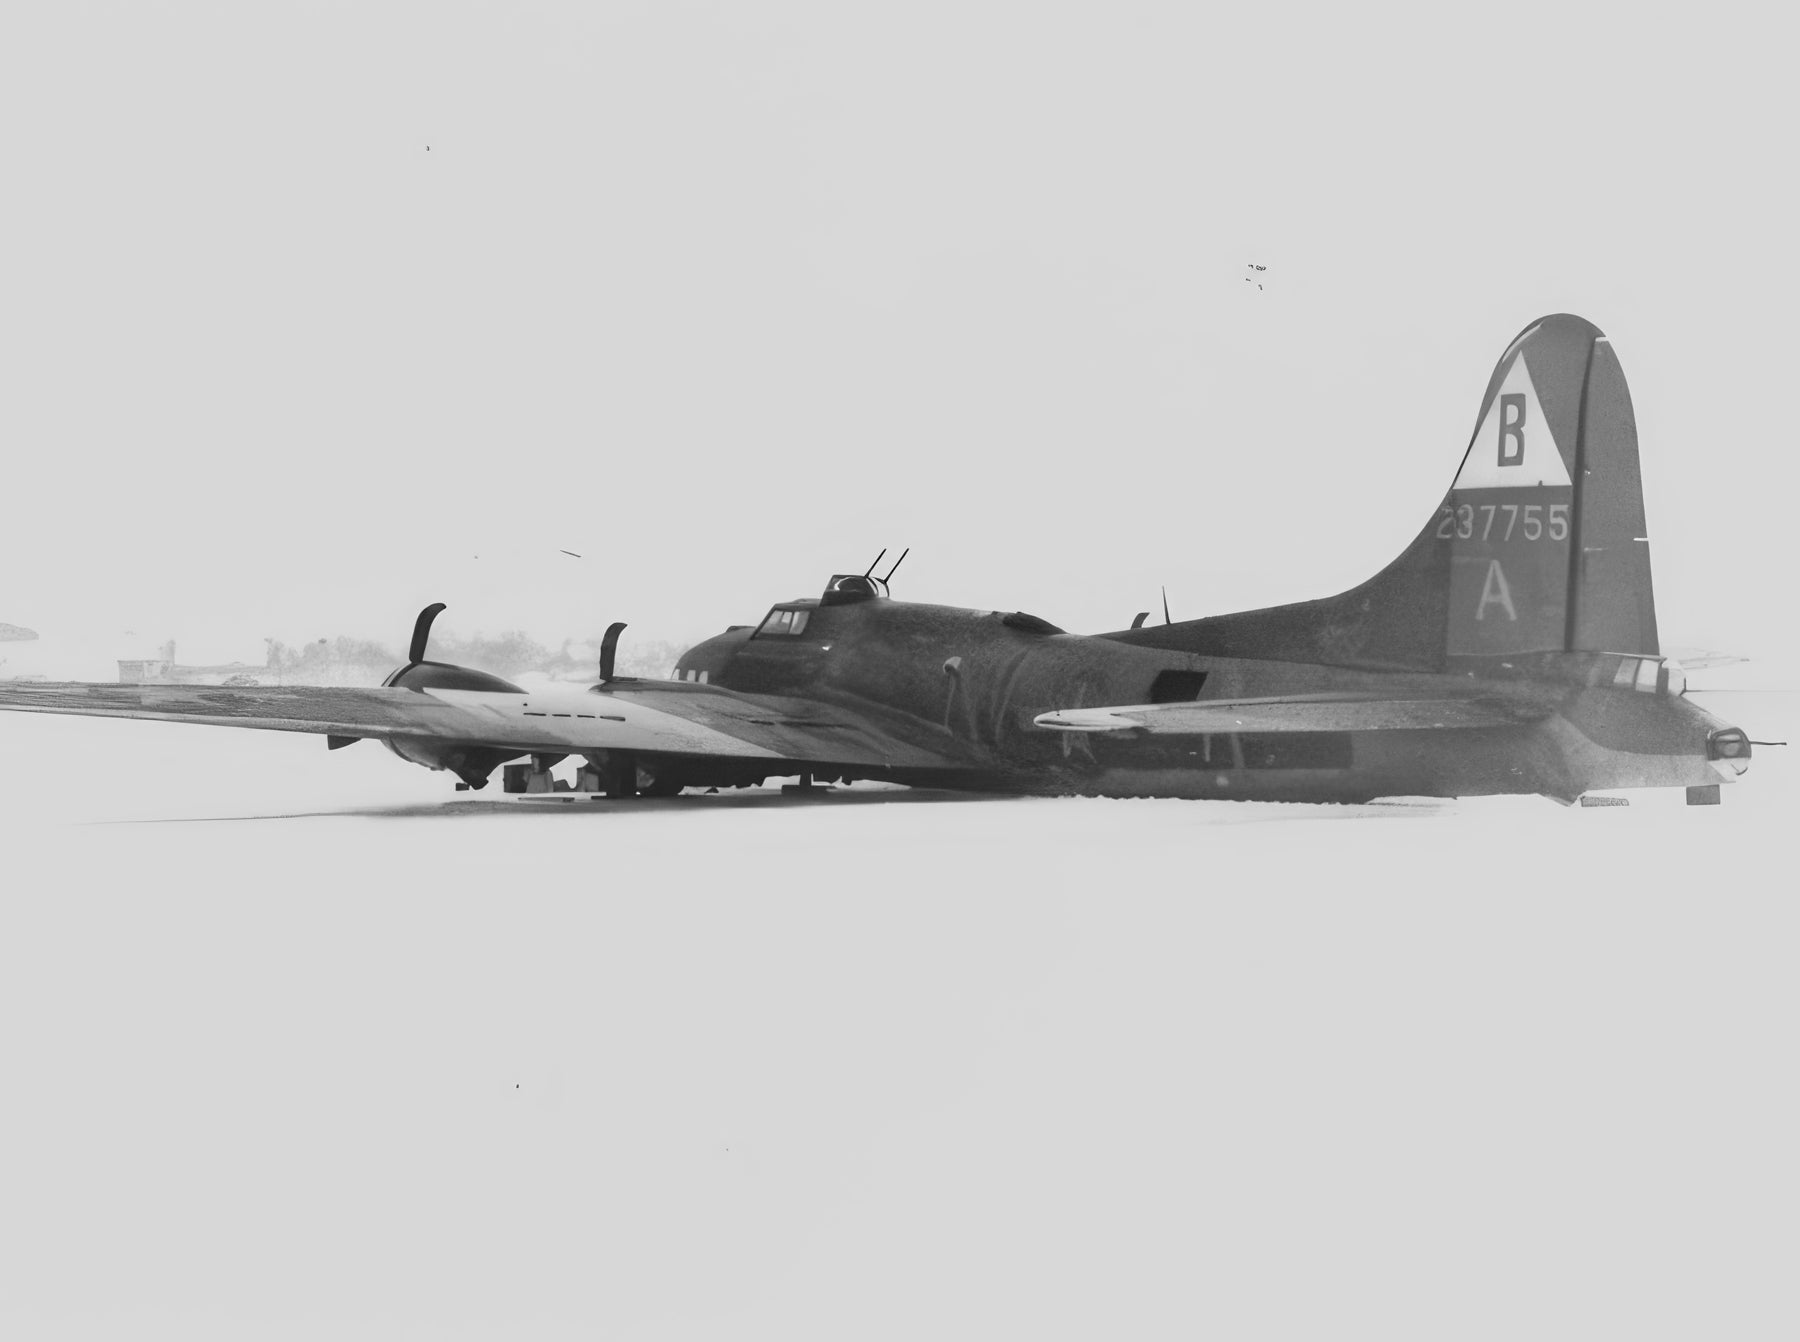
In the pantheon of military aviation, the B-17 Flying Fortress stands tall — a manifestation of human ingenuity, tenacity, and bravery. And while its name often evokes visions of the airborne monolith casting a dominating shadow on the ground below, it is the unsung heroes of this formidable aircraft — its gun turrets — that deserve a moment under the limelight. These turrets, positioned strategically across the aircraft’s frame, served not just as protective mechanisms but as the embodiment of a dedicated defensive strategy during the tumultuous years of World War II.
The Anatomy of the Beast
To genuinely appreciate the B-17’s gun turrets, one must delve into their intricate design and placement. Essentially, the Flying Fortress was armed with 13 M2 Browning .50 caliber machine guns that spanned five key positions:
- Nose Turret: Positioned at the aircraft’s fore, this turret, with its twin machine guns, provided a vital forward-facing defense. Ensuring that enemy fighters approaching head-on were deterred, a sentinel watched the skies ahead.
- Top Turret: Dominating the upper profile of the B-17, the top turret housed two machine guns. It held an unobstructed 360-degree view, ensuring protection from threats that dared to swoop down or attack from elevated vantage points.
- Ball Turret: Perhaps the most iconic of the B-17’s defensive fixtures, the ball turret was a spherical chamber mounted on the belly of the aircraft. Manned by a gunner contorted into the compact space, this turret wielded two machine guns, covering the plane’s vulnerable underbelly.
- Waist Guns: Located on either side of the fuselage, these manually operated positions were unique. Each was equipped with a single machine gun, granting defense from lateral approaches.
- Tail Turret: The rear guard of the B-17, the tail turret, was equipped with twin machine guns. It ensured that pursuing aircraft were greeted with a barrage of retaliatory fire.
In the Heat of Battle
In combat, these turrets weren’t mere metal appendages but pulsating centers of life. Brave gunners, wedged into their positions, had to maintain composure amidst the cacophony of roaring engines, flak explosions, and the relentless chatter of machine guns. They had to discern friend from foe in split-second decisions, becoming the last line of defense against enemy interceptors. With its orchestrated movement, their collaboration rendered the B-17 a veritable porcupine in the skies, bristling with spikes ready to deter any threat.
An Evolutionary Perspective
The B-17’s gun turrets underwent significant evolution. Early iterations of the aircraft, for instance, the B-17B, were less heavily armed. But as the war progressed and enemy tactics became more sophisticated, the need for bolstered defenses became evident. Subsequent models, especially the B-17G, showcased advancements that solidified the aircraft’s reputation as a formidable fortress.
A Testament to Human Spirit and Engineering
The gun turrets of the B-17 are not just feats of engineering; they’re stories – stories of young men who operated them, tales of designers who constantly refined them, and narratives of battles where they played pivotal roles. Beyond the metal, mechanics, and munitions, they represent the spirit of an era — one where innovation and valor were paramount. The B-17’s gun turrets are enduring symbols of mankind’s tenacious spirit to protect, fight, and prevail.
For more insights into the B-17 and other important military aircraft, visit Aces In Action. Here, you’ll find an amazing piece of artwork by Craig Tinder titled “Stormy Weather,” which illustrates the 11 March 1945 mission of B-17G Flying Fortresses on their way to their target in Hamburg, Germany. The limited edition canvas print even includes a piece of B-17G Flying Fortress wing skin removed from B-17G N722C, known as “Texas Raiders” during a significant wing spar restoration in 2001.
Stormy Weather – B-17G Flying Fortress Aviation Art by Craig Tinder
11 March 1945 – 33 B-17G Flying Fortresses of the 447th Bomb Group of the U.S. Army 8th Air Force take evasive action on their mission to Hamburg, Germany. Taking off from England at 0920 that morning, the heavy bombers fought their way through the German Luftwaffe only to find the target obscured by heavy cloud cover. Once the bombers discovered a slight clearance in the cloud pattern, they unleashed 78 tons of bombs directly on target. The resulting explosions caused such an upheaval of heat that the remaining cloud cover was entirely dissipated. That day, all 33 aircraft from the 447th Bomb Group returned home.
To purchase or see similar items, visit here.
Commissioned by Museums, Treasured by Collectors


Share:
A Duel in the Skies: The Ingenious Maneuver of Bindseil’s FW-190
Merlin Magic: How the Merlin Engine Transformed the P-51